
Last updated November 15, 2026
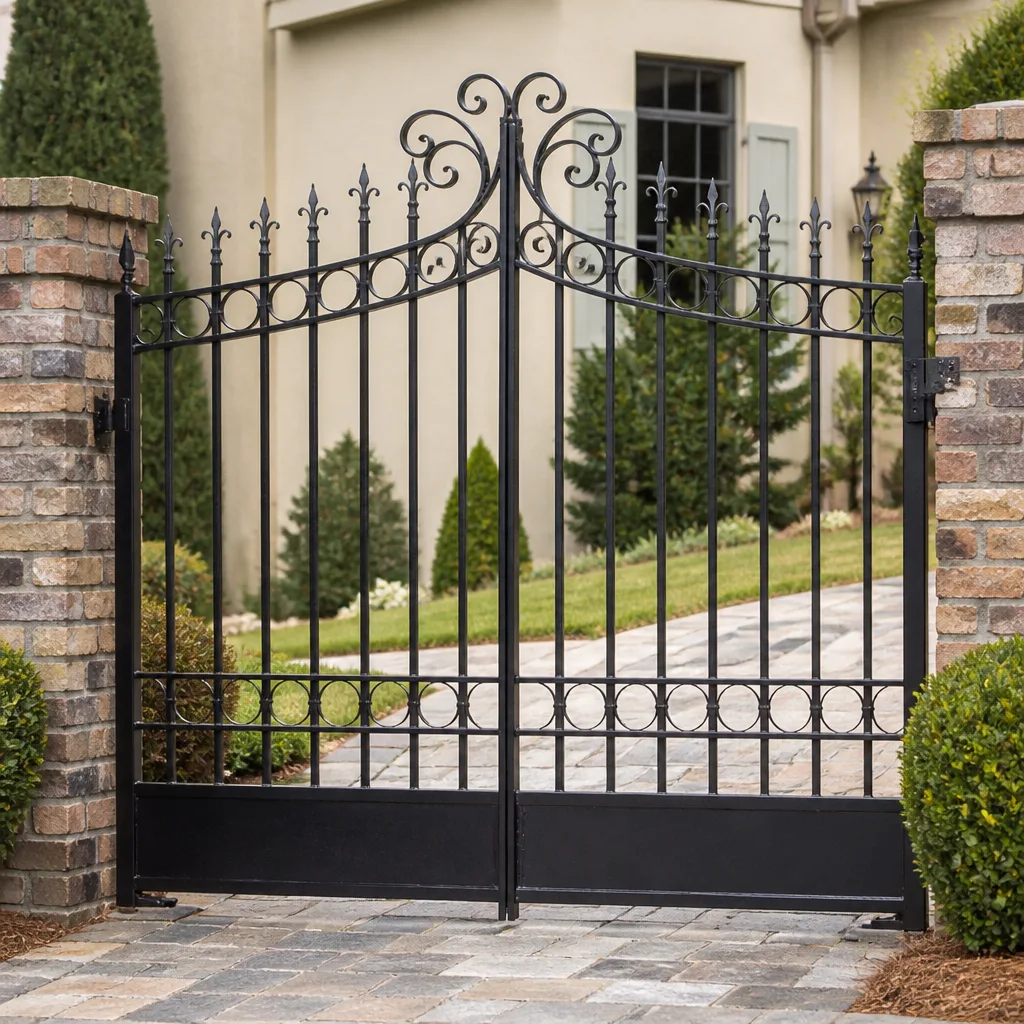 Wrought iron
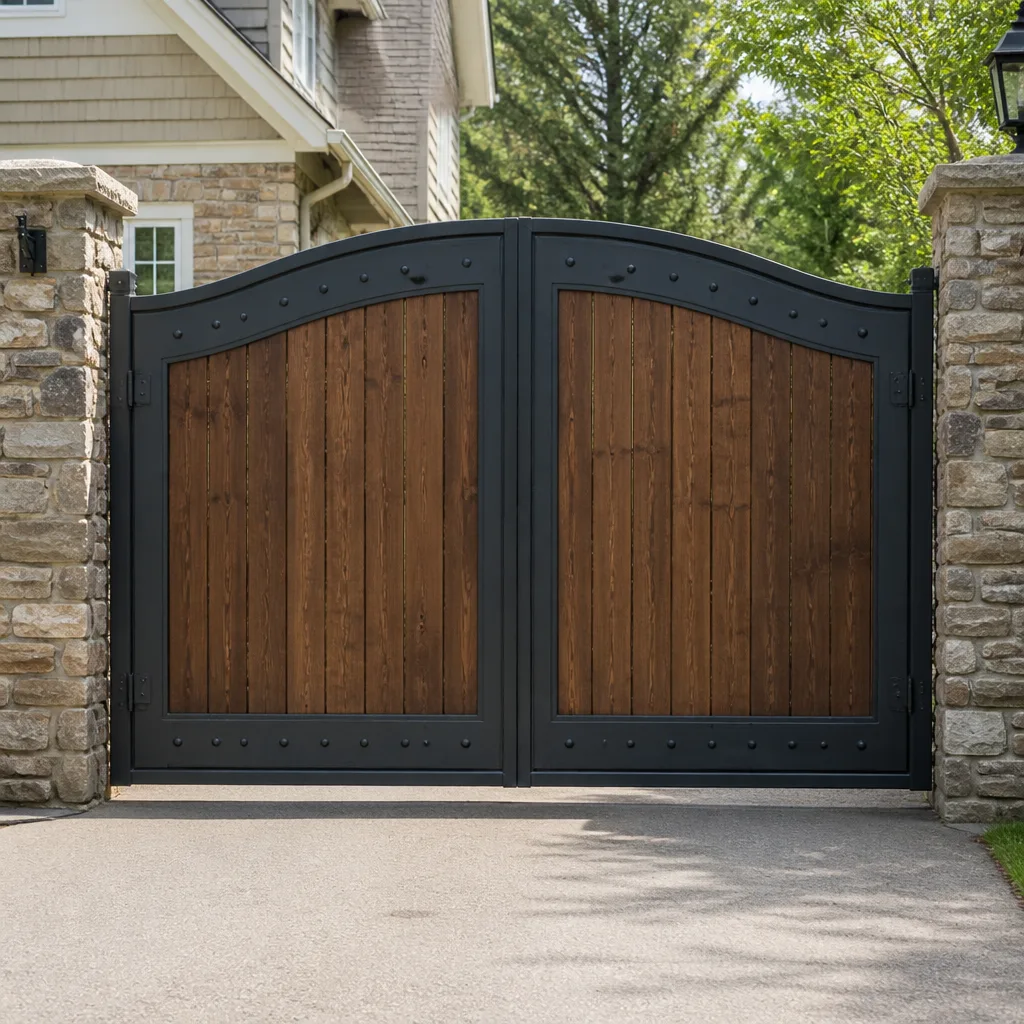 Wood & steel frame
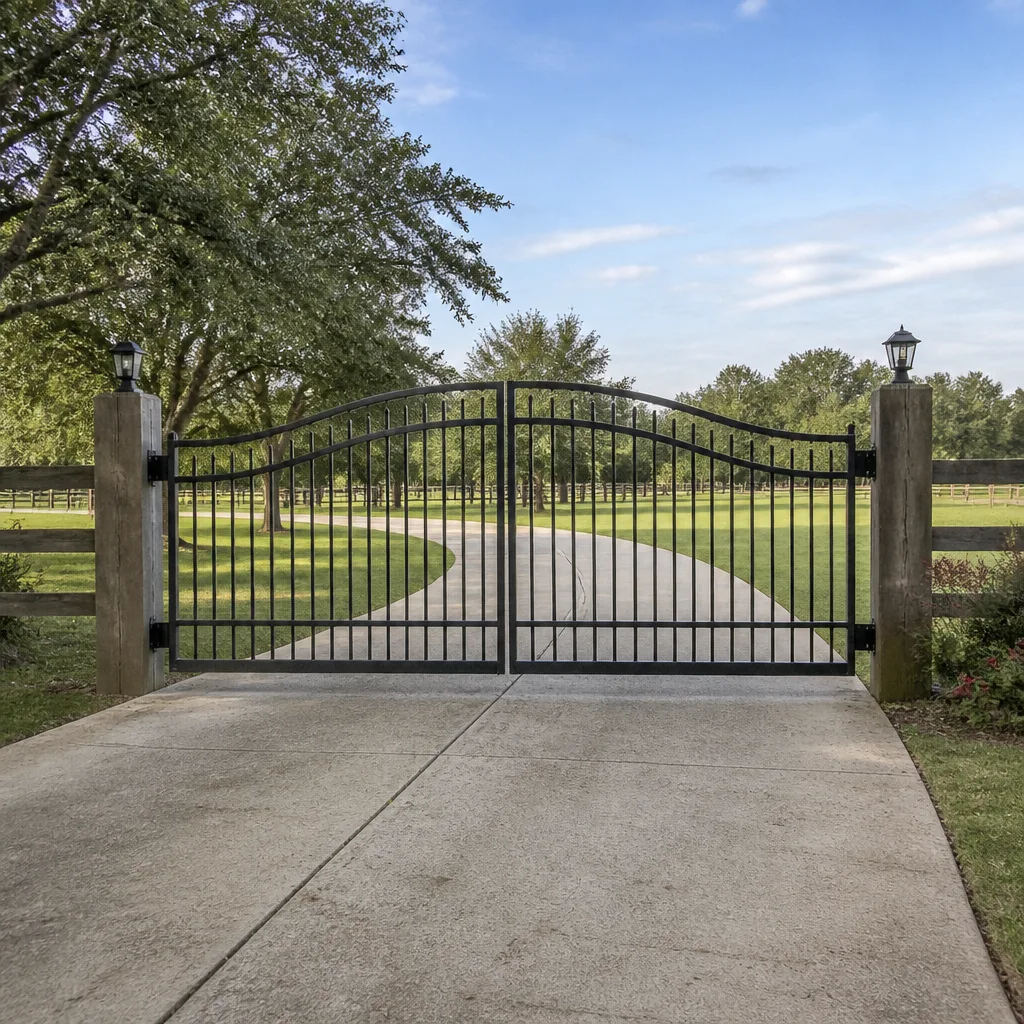 Farm & ranch
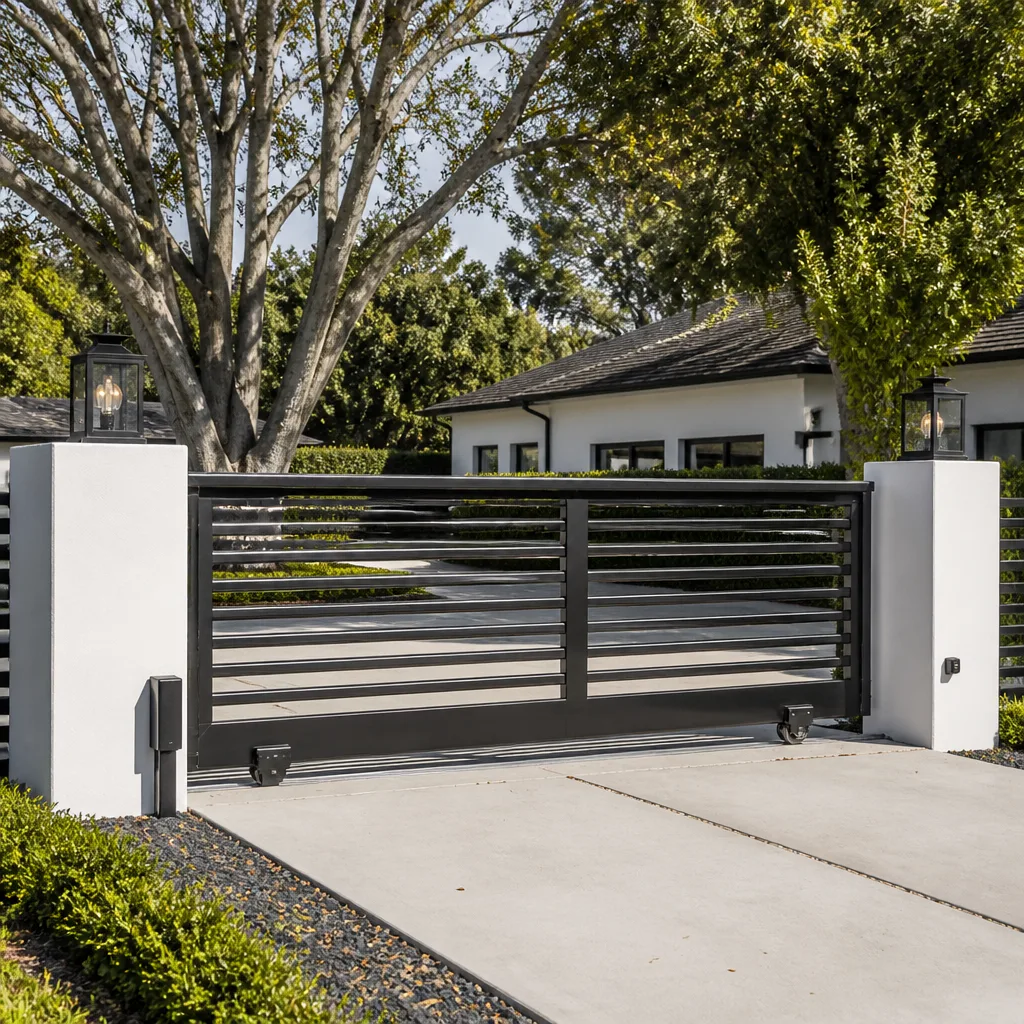 Sliding driveway gates
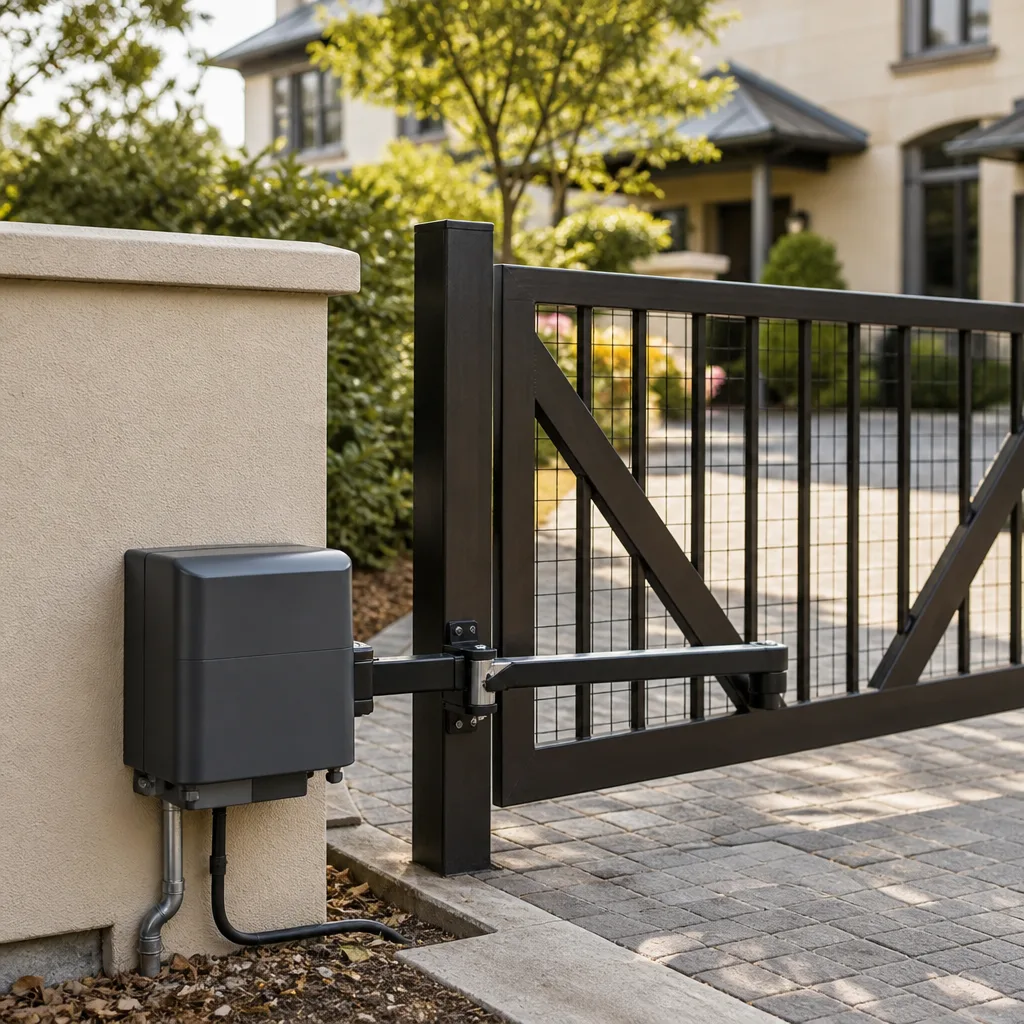 LiftMaster operators
Free on-site gate assessment - hinges, posts, and your LiftMaster or Nice gate operator checked before anything is quoted
The assessment is free and the quote is the invoice.
Get your free estimateGate Repair Maintenance Checklist for Elizabeth Homeowners
Lubricating a rack-and-pinion drive with the wrong grease is worse than skipping lubrication entirely. It attracts grit, accelerates gear wear, and voids most operator warranties. Most “maintenance tips” online get this wrong, and the result shows up as a stalled slide gate on a cold morning or a swing arm that groans through its whole cycle. Elizabeth properties span a wide range: 1920s wrought-iron driveway gates in the historic blocks, mid-century manual swing gates, and modern automated slide systems behind light commercial lots. Each one demands a different inspection sequence, and lumping them together is why most checklists fail in practice. This guide organizes gate maintenance by gate type and drive mechanism, so you can inspect the right components in the right order and schedule the work realistically.
Quick Answer
A gate maintenance checklist for an Elizabeth homeowner should be organized by gate type and drive mechanism, not by season. Swing gate operators need hinge, arm, and limit-switch checks; sliding operators need track, rack, and roller inspection plus control-board and sensor review; non-motorized ornamental gates need pin, latch, and post-alignment checks. Most of the work is visual and takes 45 to 90 minutes per gate if you follow the sequence. Anything that involves the operator’s power wiring, the control board, or a heavy gate panel off its track belongs with a trained technician.
Styles & brands we work with
- Wrought iron
- Wood & steel frame
- Farm & ranch
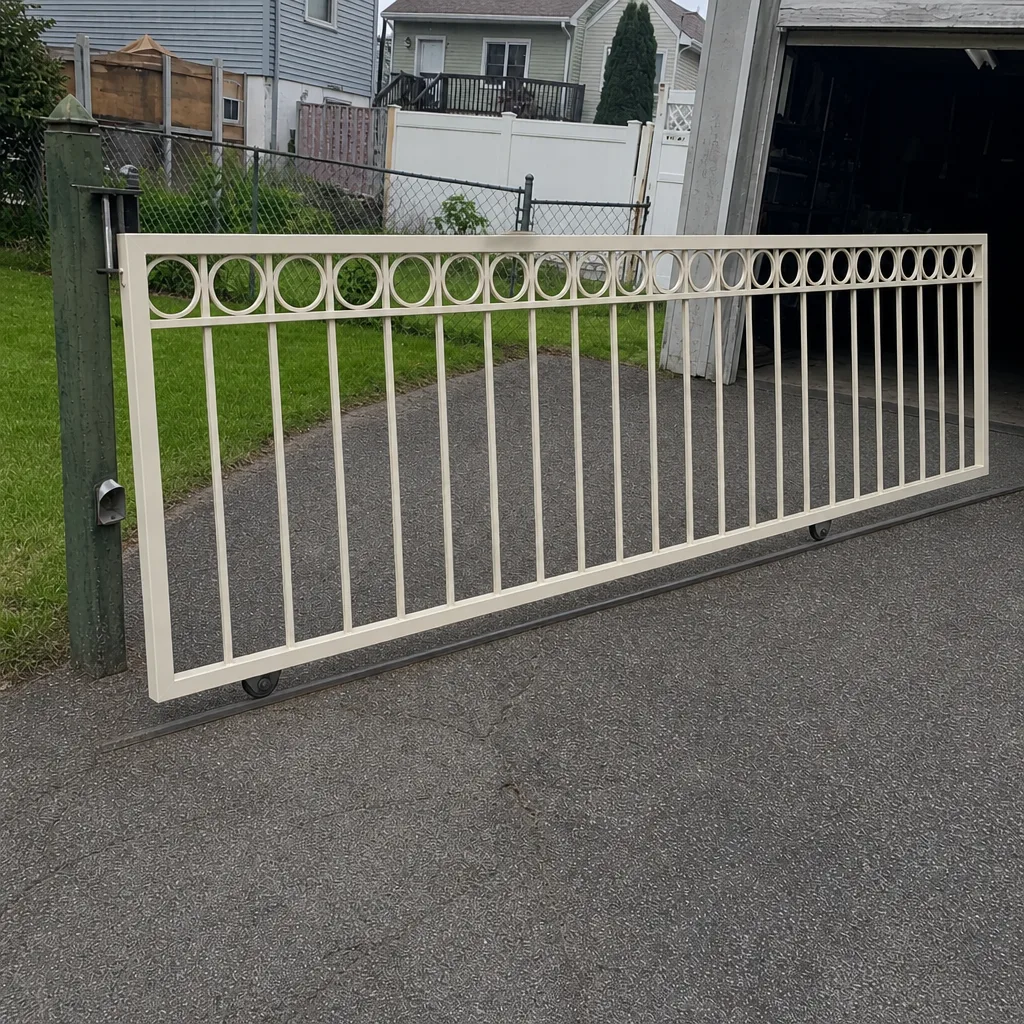
- Sliding driveway gates
- LiftMaster operators
Table of Contents
- Why Gate Maintenance Has to Start With the Gate Type
- Swing Gate Operator Checklist
- Sliding Gate Operator Checklist
- Non-Motorized Ornamental Gate Checklist
- Correct Lubricants by Component
- Control Board and Sensor Inspection: The Steps Most Checklists Skip
- The Five Maintenance Skips That Cause Most Emergency Callouts in Elizabeth
- Realistic Time per Task
Why Gate Maintenance Has to Start With the Gate Type
The single biggest reason a home maintenance checklist fails on a gate is that it treats all gates as the same machine. A swing gate and a slide gate share almost no wear points. The swing gate pivots on hinges and is driven by an arm or an underground operator; the slide gate rolls on track rollers and is driven by a rack and pinion or a chain. An ornamental manual gate has neither. If you run a slide-gate checklist against a swing gate, you will check the wrong parts and miss the ones that actually fail.
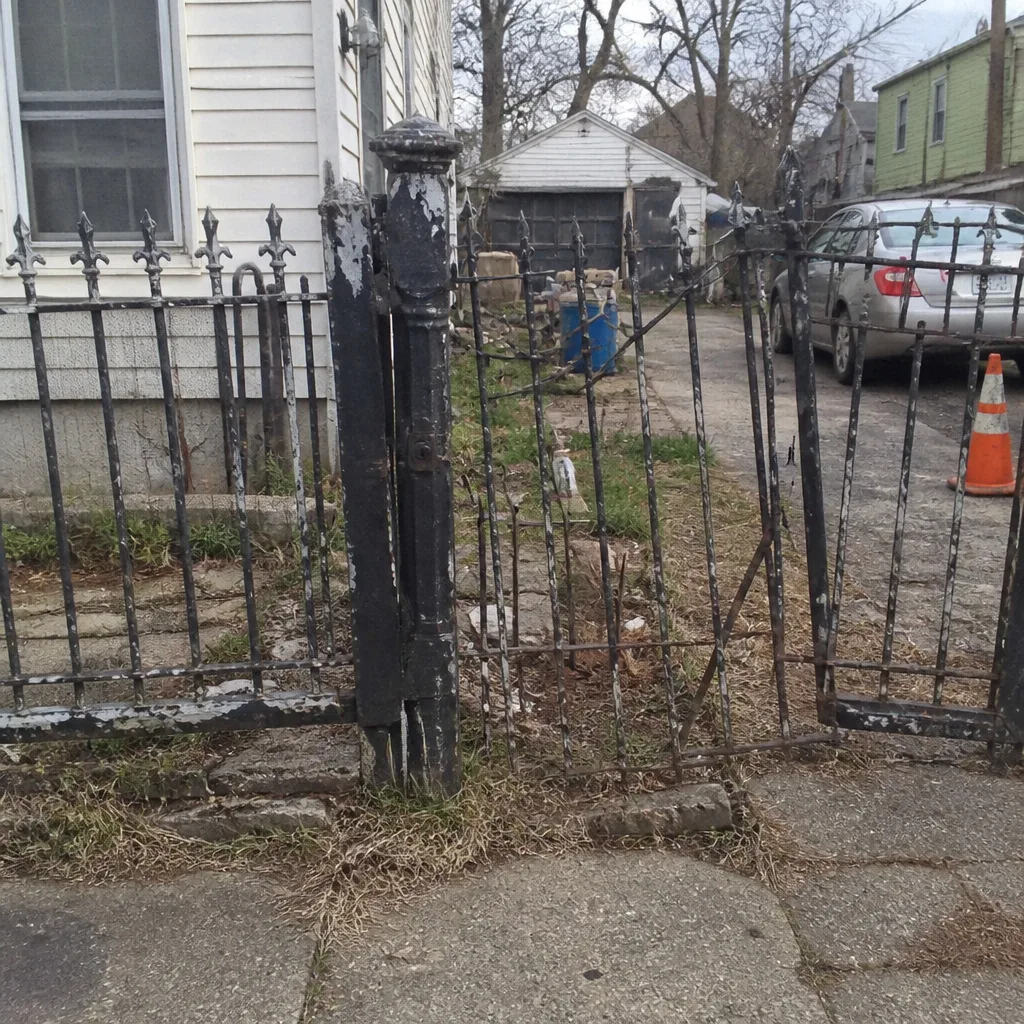
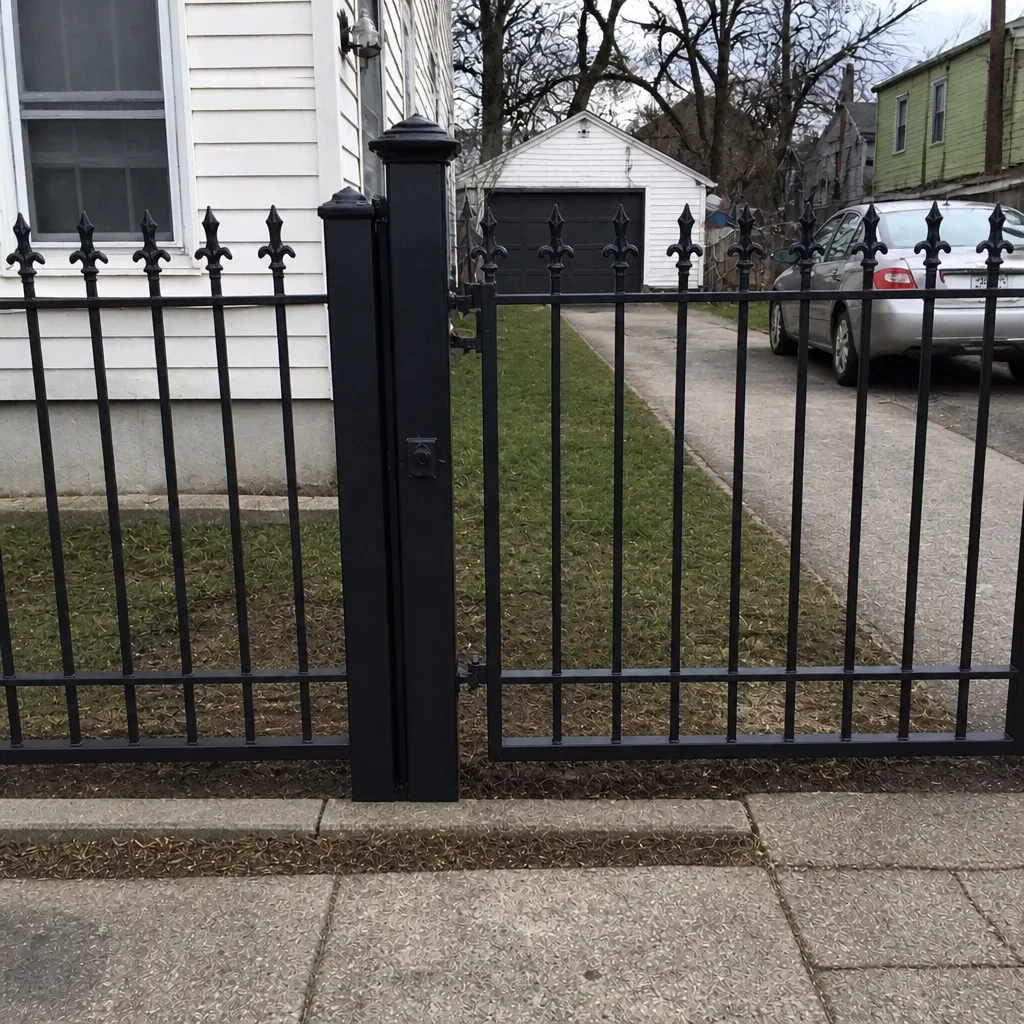
Elizabeth’s gate stock reflects its building history. The older residential blocks carry plenty of wrought iron and cast-iron pedestrian and driveway gates, many of them manual, some retrofitted with a modern operator. Newer construction and light commercial properties lean toward automated slide systems with access control, often on brands we work on regularly. In our experience, the automated gates on commercial lots fail most often at the sensor and control-board level, while older residential gates fail at the hinge pin, latch, and post. Same city, different failure profiles. That is why we diagnose by gate type first and brand second, and why a gate repair visit should start with a conversation about what kind of gate you actually have.
Before any checklist, confirm three things: is the gate manual or motorized, does it swing or slide, and what brand is the operator? Those three answers decide which section below applies. If you are not sure of the brand, the operator housing or control box usually carries a label. Linear, Viking, Ghost Controls, and DoorKing are all common on Elizabeth properties, and each has its own adjustment and sensor conventions.
Swing Gate Operator Checklist
A swing gate operator should get a physical and visual inspection every six months, with the safety-reversing test repeated monthly because that is the function that protects people. The swing gate has two failure families: mechanical wear at the hinge and arm, and electronic drift at the limit switches and sensors. Work through them in this order:
- Hinge pins and bushings. Open the gate by hand with the operator disengaged. Any grinding, binding, or side-to-side wobble at the hinge means the pin or bushing needs attention before you run the operator again.
- Operator arm and linkage. Check the arm for play, bent pins, and worn clevis ends. A loose arm turns into a control-board fault quickly because the operator fights the gate instead of moving it.
- Limit switches. Watch the gate open and close fully. The operator should stop cleanly at each end without slamming or reversing. If it stops short or runs into the physical stop, the limit needs adjustment.
- Safety edges and photo eyes. Block the photo-eye beam with your hand during a close cycle. The gate must reverse. Test the safety edge the same way. This is the check to repeat monthly.
- Manual release. Confirm the keyed release disengages the operator smoothly so the gate can be moved by hand in a power outage.
- Fasteners and posts. Check the operator mounting bolts and the hinge post for movement. A post that has shifted throws off every adjustment you make above it.
If you follow this sequence and the gate still reverses unpredictably or refuses to complete a cycle, the fault is likely in the control board or the wiring, and that is a job for a technician. We work on swing operators from brands like Viking and DoorKing regularly, and brand knowledge shortens the diagnosis because the adjustment points are the same from job to job.
Sliding Gate Operator Checklist
A sliding gate operator carries more load than a swing operator, so the track and rollers deserve first attention every six months. Most slide-gate failures start at the track and then travel back into the operator and control board. Inspect in this order:
- Track and guide. Sweep the track clear of grit, leaves, and debris. A track that collects debris forces the operator to work harder and wears the rollers faster.
- Rollers and bearing housings. Roll the gate by hand after disengaging the operator. Listen for flat spots, grinding, or wobble. Replace worn rollers in sets, not one at a time.
- Rack and pinion or chain. Check the rack for worn or chipped teeth and the chain for slack. A chain that is too tight stresses the gearbox; too loose and it skips.
- Limit switches and magnets. Confirm the gate stops at both ends without overrunning. On many slide operators the limit is a magnet on the rack that triggers a sensor; a loose magnet causes the gate to coast past its stop.
- Anti-crush and safety devices. Block the safety edge and the photo eye during a close cycle and confirm the gate reverses. Repeat monthly.
- Operator mounting and foundation. Check that the operator base and the gate’s end posts have not shifted. A settled post will throw the rack out of mesh.
Slide gates are where the rack-and-pinion lubricant question matters most, because the rack is the exposed gear surface. Get the lubricant wrong here and you accelerate the exact wear you were trying to prevent. If your slide gate is motorized with access control, the control board and sensor section further down applies to you as well.
Non-Motorized Ornamental Gate Checklist
An ornamental manual gate is mostly a mechanical structure, so the checklist is about pins, latches, and the frame rather than electronics. These gates are common on older Elizabeth properties, and they last decades if the pivot points stay clean and lubricated. Walk through them in this order:
- Hinge pins and pivot cups. Open and close the gate by hand. Any binding, squeal, or lift at the hinge means the pin or cup needs cleaning and lubrication.
- Latch and strike. Confirm the latch engages fully and the gate does not rattle in the wind. A latch that half-engages is the most common cause of a gate swinging open on its own.
- Post alignment and plumb. Check the hinge post for lean or movement. Frost heave and soil settlement move posts, and a leaning post misaligns the whole gate.
- Frame, welds, and pickets. Look for cracked welds, loose pickets, and rust at the joints. Rust at a weld is often the first sign of a failing joint.
- Finish and paint. Touch up bare metal before it rusts through. On wrought iron, a small paint touch-up today prevents a repair later.
- Ground clearance. Confirm the gate clears the ground through its full swing. A gate that drags will eventually bend or tear its hinges.
If you plan to add an operator to an ornamental gate later, do the mechanical checks first. An operator installed on a binding gate will fail early and void its own warranty, so the hinge and alignment work has to come before the automation, not after.
Correct Lubricants by Component
Lubricant choice is component-specific, and using one grease for everything is the mistake behind most premature gate wear. The general rule: use a light penetrating lubricant on pins and hinges, a proper gear or chain lubricant on the drive, and dry-film or silicone on exposed parts that collect grit. Here is how it breaks down by component:
- Chain drive: a dedicated chain lubricant that penetrates the links and sets without attracting grit. Never use heavy grease on a chain; it collects debris and accelerates wear.
- Rack and pinion: a gear-appropriate lubricant applied thinly to the tooth face. Over-application is the common error; a thin film is all the rack needs.
- Hinge pins and pivot cups: a light penetrating lubricant worked in with the gate in motion, then wiped clean so it does not collect dust.
- Limit switch mechanism: a dry lubricant only. Grease on the limit mechanism attracts grit that interferes with the switch trigger.
- Manual release and lock cylinder: a graphite or dry lubricant so the release stays free without gathering grit.
- Rollers and bearing housings: a bearing-appropriate lubricant, applied sparingly; sealed bearings usually need none at all.
If you are unsure which lubricant your operator calls for, check the operator manual or ask us. Applying the wrong grease to a rack-and-pinion drive is the one mistake that does more harm than skipping the step. We would rather you wipe the rack clean and wait than coat it with the wrong product.
Control Board and Sensor Inspection: The Steps Most Checklists Skip
Homeowner checklists almost always stop at the moving parts, which is why the control board and sensor checks are the most valuable additions you can make. This is also the section to handle with care: the control board involves the operator’s power wiring, and that work belongs with a trained technician. Your role here is inspection and observation, not opening the enclosure.
What you can confirm safely, with the power on and the gate in view:
- Photo-eye alignment. Confirm the safety-beam lens is clean and unobstructed and that the beam is not knocked out of alignment by a bumped post or a leaning fence.
- Indicator lights. Many operators, including several Linear and Ghost Controls models, show a status light or LED fault code on the control board. Note what it shows and whether it changes between a normal cycle and a fault.
- Safety-reversing test. Block the beam during a close cycle and confirm the gate reverses. Do this monthly; it is the single most important test you can run.
- Access control and keypad. Confirm the keypad or remote entry triggers the gate cleanly and that the gate does not overrun its stop when triggered.
- Battery backup. If your operator has a battery backup, check that it is in place and not visibly swollen or leaking. Battery condition affects the safety release in a power outage.
- Enclosure and wiring. With the power off at the breaker, confirm the control enclosure is closed, the gland seals are intact, and no wiring is exposed. Do not open the board itself.
Any fault code you cannot clear, any gate that reverses unpredictably, and any wiring inside the control enclosure belongs with a technician. This is the point where electric gate repair becomes the right call, because the work is measured and diagnosed rather than guessed at.
The Five Maintenance Skips That Cause Most Emergency Callouts in Elizabeth
Most emergency callouts we see in Elizabeth trace back to one of five skipped steps, not to a sudden failure. Fix these five and you remove most of the reasons a gate stops working on its own:
- Skipping the monthly safety-reversing test. A gate that stops reversing is a safety failure long before it is a mechanical one. Test it monthly, every month, without exception.
- Letting grit build up in the track and chain. In Elizabeth’s wet, freeze-thaw winters, grit in the track freezes in place and jams a slide gate. Sweep and clean before the first hard freeze, not after.
- Using the wrong lubricant. Heavy grease on a rack or chain collects grit and accelerates wear. It is the most common “helpful” mistake we undo.
- Ignoring a leaning post or hinge. A post that has shifted misaligns everything above it. Catching it early is a small repair; catching it late is a hinge or operator replacement.
- Treating a fault code as noise. A status light or code that comes and goes is telling you something. Note it and get it looked at before the gate stops entirely.
Elizabeth’s climate adds one more pressure that generic checklists miss: the freeze-thaw cycle. Water that gets into a track, a hinge cup, or a chain and then freezes will crack seals and bend pins. The fix is not complicated, but it does need to happen before the cold sets in. If your gate has already started to bind, an Elizabeth technician can look at it before a small issue becomes a stalled gate.
Realistic Time per Task
Most homeowners abandon a maintenance checklist because they underestimate the time and quit in the middle, leaving a partially inspected gate that feels done but is not. Here is a realistic breakdown so you can schedule it honestly. Times are for a single gate, inspection only, not repair.
- Visual walkaround (all gate types): 10 to 15 minutes. Look at the whole gate, the posts, the ground, and the operator housing before touching anything.
- Swing operator mechanical check: 20 to 30 minutes. Hinge, arm, and limit inspection plus the manual release.
- Slide operator mechanical check: 25 to 35 minutes. Track, rollers, and rack or chain, including a debris sweep.
- Ornamental gate mechanical check: 15 to 25 minutes. Hinges, latch, alignment, and finish.
- Safety-reversing test (all powered gates): 5 minutes. Repeat monthly; it is the highest-value five minutes on this list.
- Control board and sensor inspection: 10 to 15 minutes. Visual only; do not open the enclosure.
- Lubrication per component: 10 to 20 minutes. Use the right lubricant and wipe off excess.
For a single automated gate, a full inspection is 60 to 90 minutes once you know the sequence. Plan it as one block, not as scattered five-minute checks. If you find a problem partway through, note it and finish the rest of the inspection, then decide what needs a technician. From manual gates to fully automated access systems, getting it fixed right the first time starts with knowing which components need which check.
Common Mistakes to Avoid
- Lubricating a rack or chain with heavy grease. It attracts grit and accelerates gear wear, and it can void an operator warranty. Use the component-appropriate lubricant and apply it thinly.
- Running the gate to a physical stop instead of adjusting the limit switch. Letting the operator fight a stop bends arms and wears the gearbox. Adjust the limit so the gate stops cleanly before the hard stop.
- Treating the safety-reversing test as optional. It is the one monthly check that protects people. Skipping it turns a small sensor adjustment into a potential safety failure.
- Opening the control enclosure yourself. The board carries electrical hazard. Inspect from outside, note fault codes, and leave the wiring to a technician.
- Ignoring a leaning post because the gate “still works”. A leaning post misaligns everything above it. Catching it early keeps it a small repair.
- Installing an operator on a gate that binds. The operator will fail early and may void its warranty. Do the mechanical work first, then automate.
- Quitting a checklist halfway. A half-inspected gate feels done but is not. Schedule the full 60 to 90 minutes and finish the sequence.
See the difference
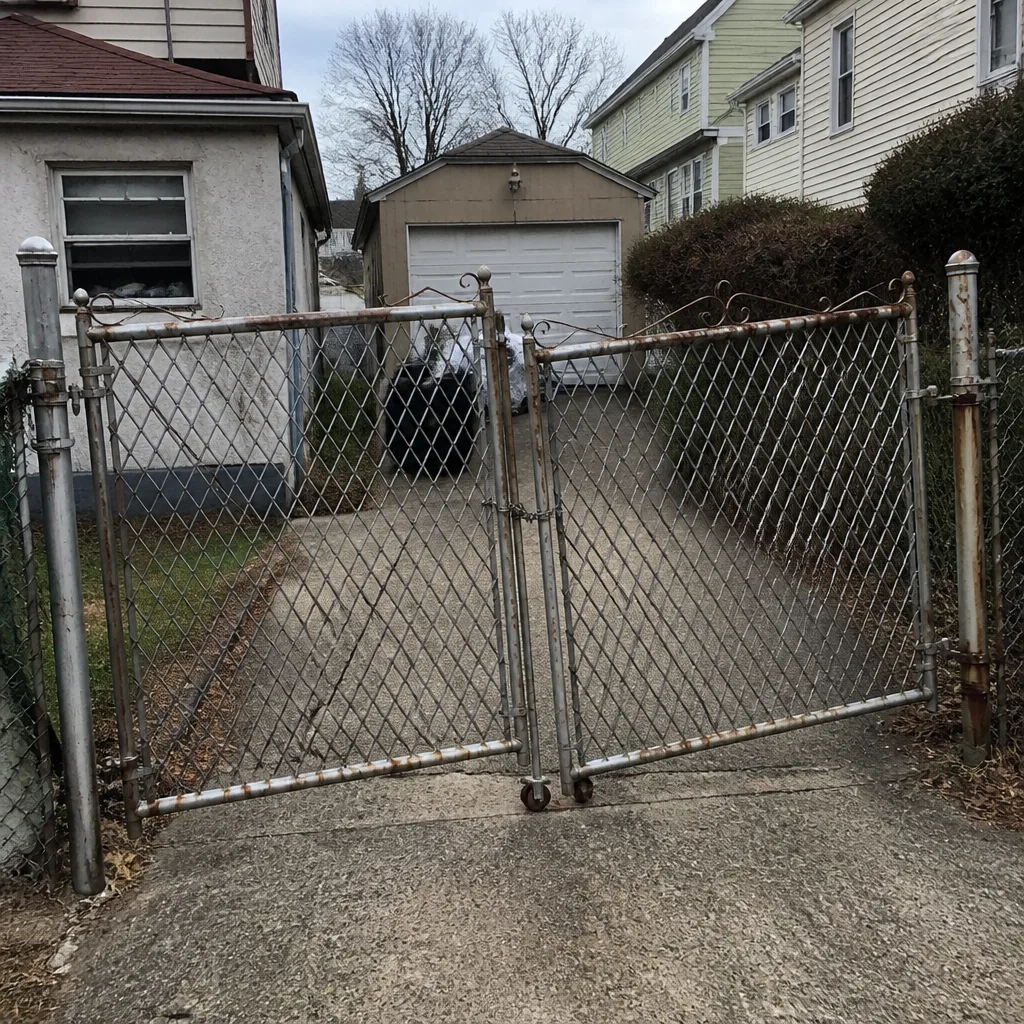 Before
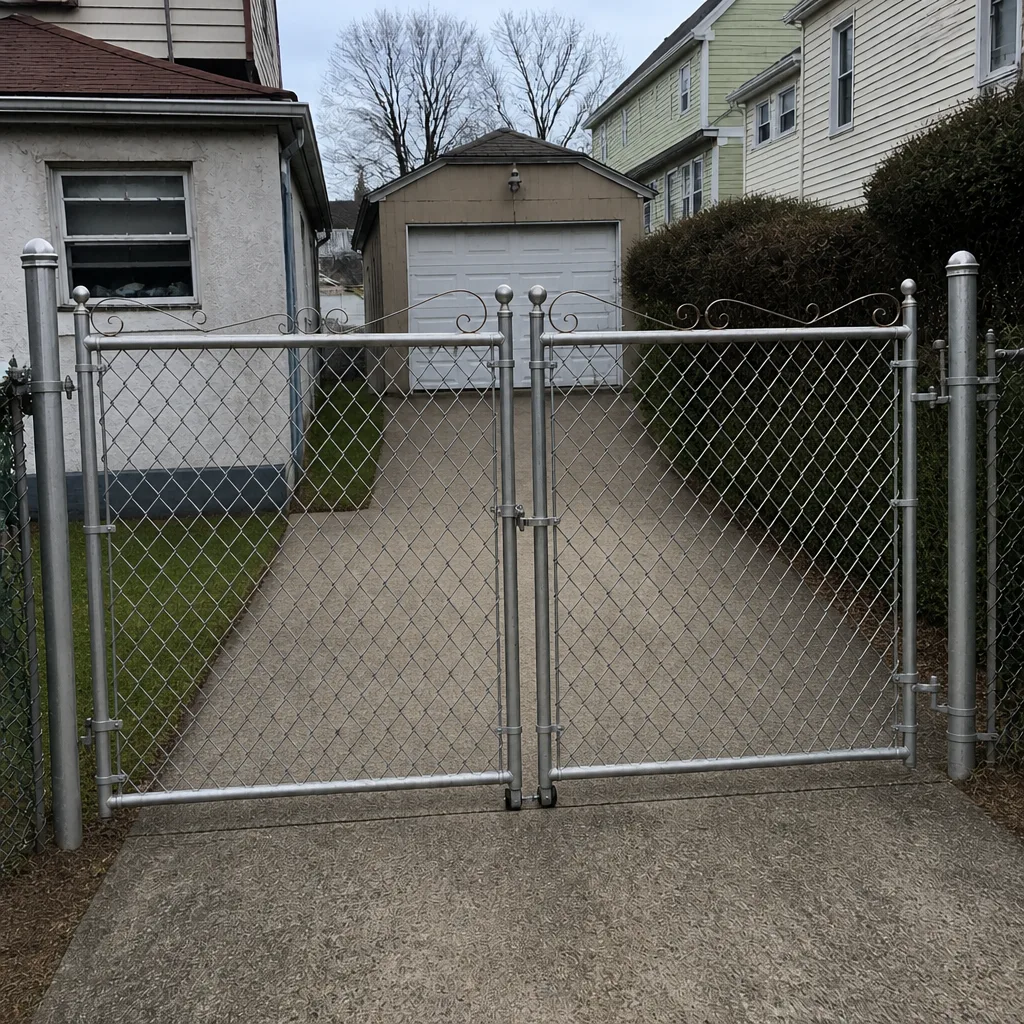 After
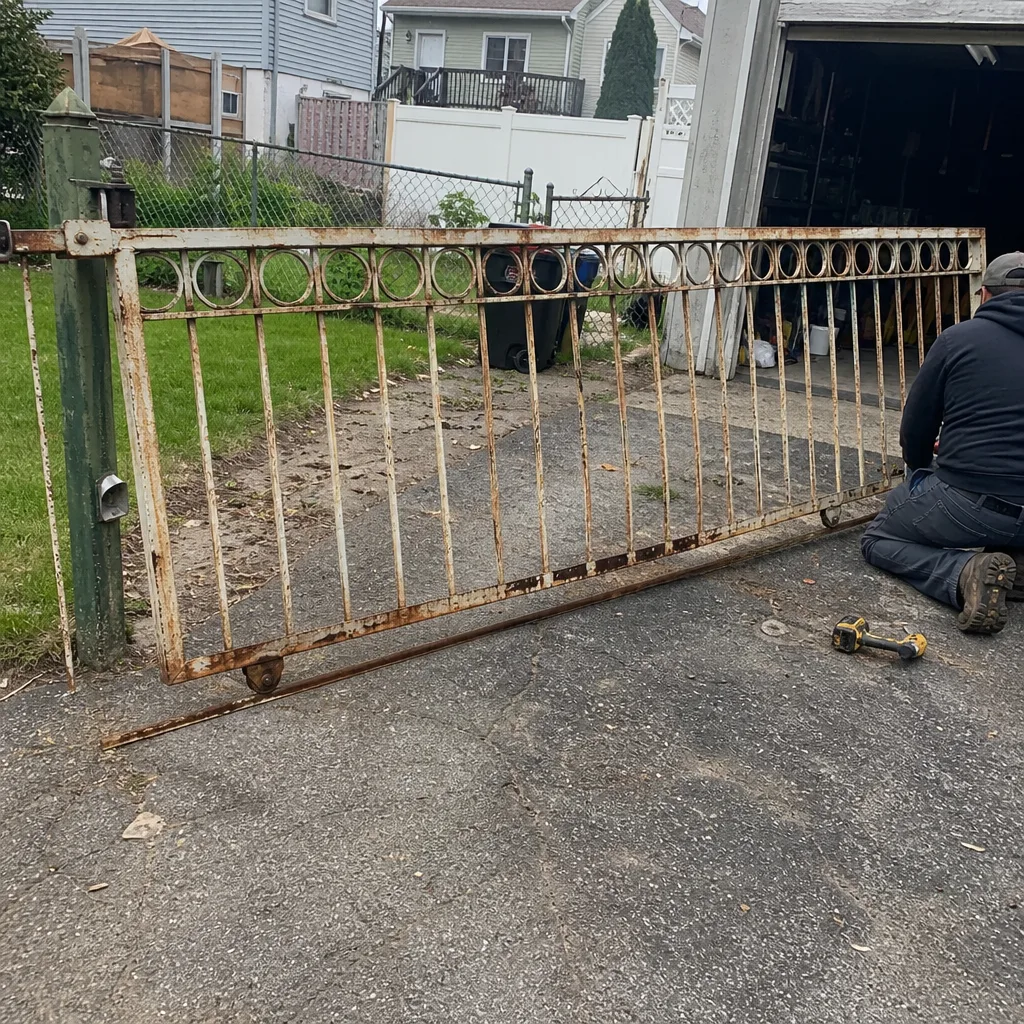 Before
 After
 Before
 After
When to Call a Professional
Some jobs are safe to inspect and some need a technician. Call us when a heavy gate panel comes off its track, when a gate reverses unpredictably or fails the safety-reversing test, when there is visible damage to the operator’s wiring or control enclosure, or when a fault code you cannot clear keeps returning. Post movement, bent arms, and track damage are also technician jobs because the repair depends on getting the alignment right first. Our technicians have up to 14 years of experience, and we work on the brands you actually have, including Linear, Viking, Ghost Controls, and DoorKing, so we diagnose by system rather than by guesswork. We answer 24/7, and fast dispatch runs from 7am to 7pm, Sunday through Friday. Gate Repair Elizabeth offers free estimates in Elizabeth.
Frequently Asked Questions
It depends on the component: a chain lubricant on a chain, a gear-appropriate lubricant applied thinly on a rack and pinion, a light penetrating lubricant on hinge pins and pivot cups, and a dry lubricant on limit mechanisms. Heavy grease on a rack or chain attracts grit and does more harm than skipping the step. If you are unsure, check the operator manual or call us for a quick recommendation. Call (844) 654-1710. We answer 24/7. Fast dispatch from 7am to 7pm, Sunday through Friday.
Monthly. Block the photo-eye beam and the safety edge during a close cycle and confirm the gate reverses. This is the single most important test on any automated gate, because it protects people. If the gate does not reverse, stop using it and call a technician. Call (844) 654-1710 for an exact quote on a safety check; estimates are free.
You can inspect from outside: check photo-eye alignment, note status lights and fault codes, and confirm the enclosure is closed and sealed. Do not open the control enclosure or touch the wiring, because the board carries electrical hazard. If you see a repeating fault code or exposed wiring, that is a technician job. Call (844) 654-1710. We answer 24/7. Fast dispatch from 7am to 7pm, Sunday through Friday.
Most likely grit or water in the track or chain that freezes during Elizabeth’s freeze-thaw cycles and jams the gate. Clean the track and chain before the cold sets in and check that the rack is lubricated correctly. If the binding continues after cleaning, the rollers or the rack may be worn. Call (844) 654-1710 for a diagnosis; estimates are free.
About 60 to 90 minutes for a single automated gate once you know the sequence. A manual ornamental gate takes 30 to 45 minutes. Plan it as one block so you finish the whole sequence rather than quitting halfway. If you find a problem partway through, note it and finish the inspection before deciding what needs a technician.
We work on nine of the major gate brands, including Linear, Viking, Ghost Controls, DoorKing, LiftMaster, FAAC, BFT, Elite, and Mighty Mule. Brand knowledge means correct parts, correct programming, and correct adjustments the first time. Call (844) 654-1710 with your brand and we can confirm the right approach for your gate. Estimates are free.
The Bottom Line
A gate maintenance checklist works when it matches the gate you actually have. Start with the gate type and drive mechanism: swing operator, sliding operator, or non-motorized ornamental. Follow the component-specific sequence, including the control-board and sensor checks most checklists skip, and use the correct lubricant for each part. Run the safety-reversing test monthly and inspect the whole gate every six months, budgeting the full 60 to 90 minutes so you finish. Catch the five common skips early and you avoid most emergency callouts, especially in Elizabeth’s freeze-thaw winters. For anything involving the operator’s wiring, the control board, or a heavy panel off its track, call a technician.
If your gate has started to bind, stall, or fail its safety test, call Gate Repair Elizabeth at (844) 654-1710 for a free estimate. We’re gate-only specialists, we work on your brand, and we diagnose by system rather than by guesswork. We answer 24/7. Fast dispatch from 7am to 7pm, Sunday through Friday.
Written by the team at Gate Repair Elizabeth.